Well, I knew it was to good to last.....
Even though my track work is really quite good, this short wheel-base switcher needs a Keep-Alive to get across my diamonds without dying. With a Scale Sound Systems speaker under the hood, there was no way a Ring PBM-2 was going to fit. I've read here on this site that others have employed TCS Keep-Alives successfully, so, that's the route I went. I picked their smallest option, the KA2.
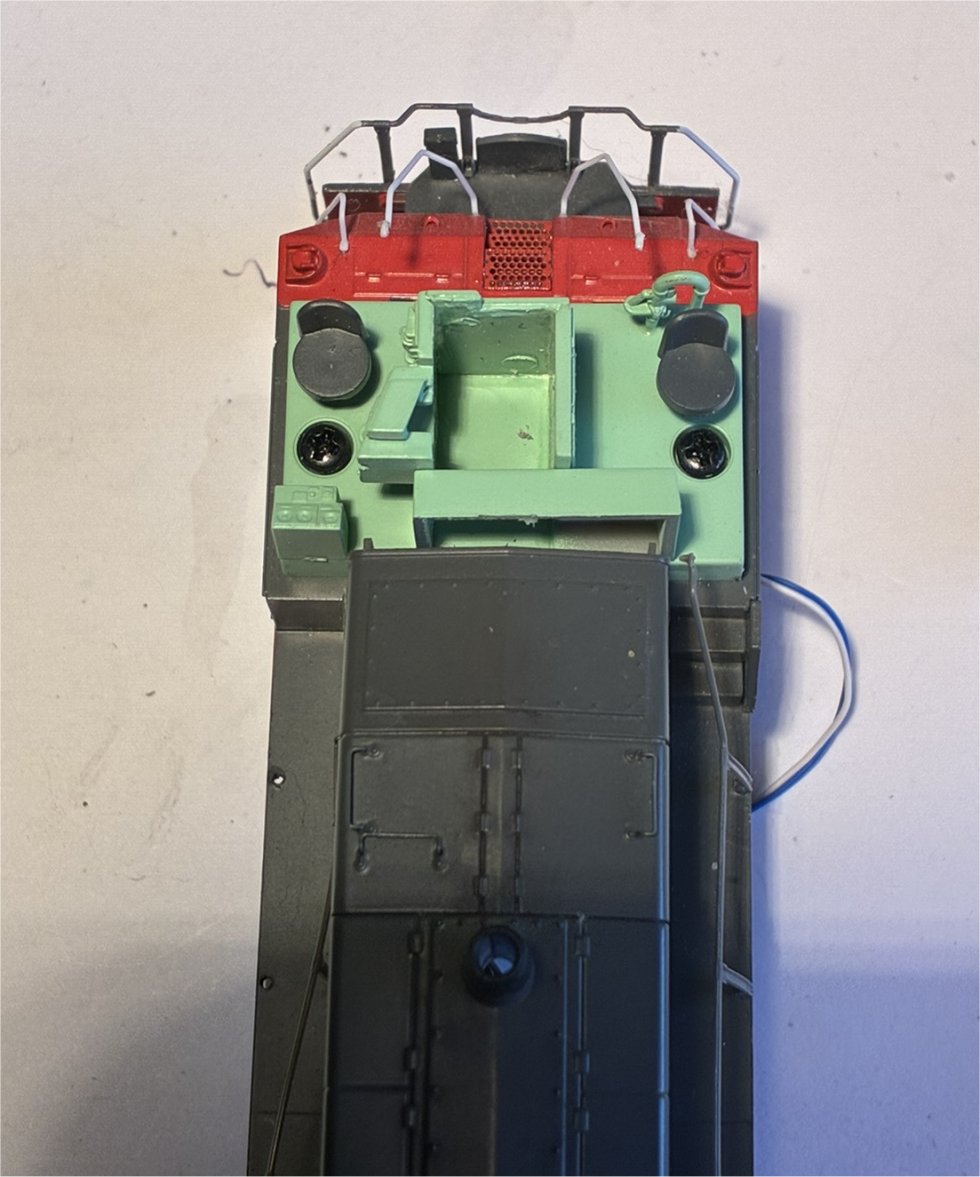
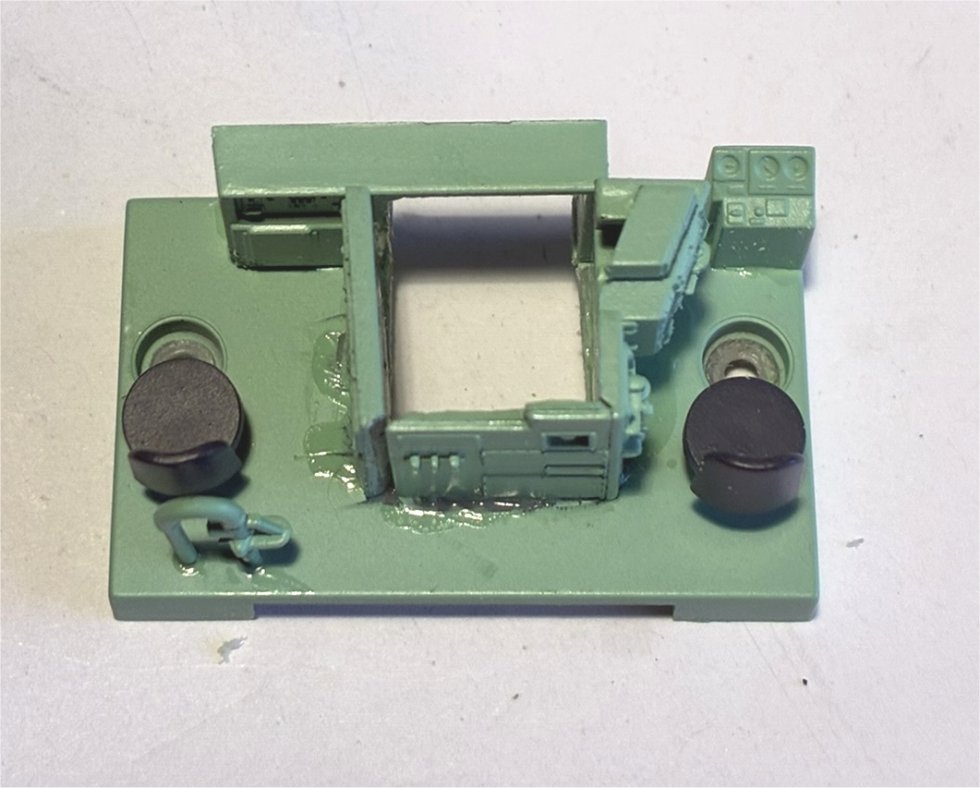
The only place I think it could fit was within the dead space in the center of the cab's interior. Here's a shot of what I'm referring to. The cab shell has been removed leaving the interior. The spot I'm targeting is that space in the center of the green cab interior in between the walls.
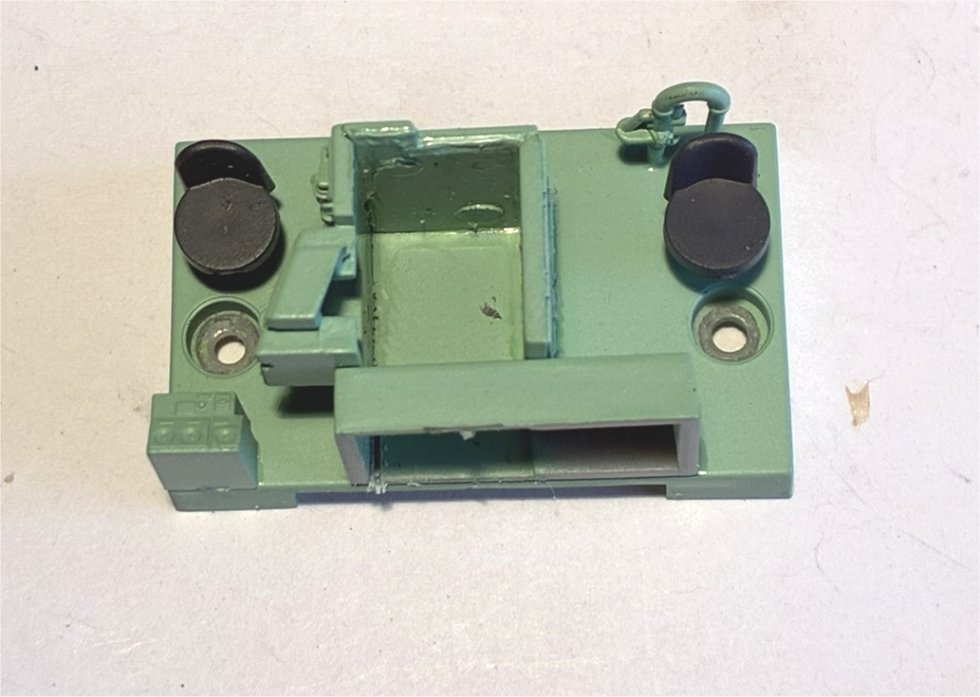
Next I removed the cab's interior. Here's a shot of that.
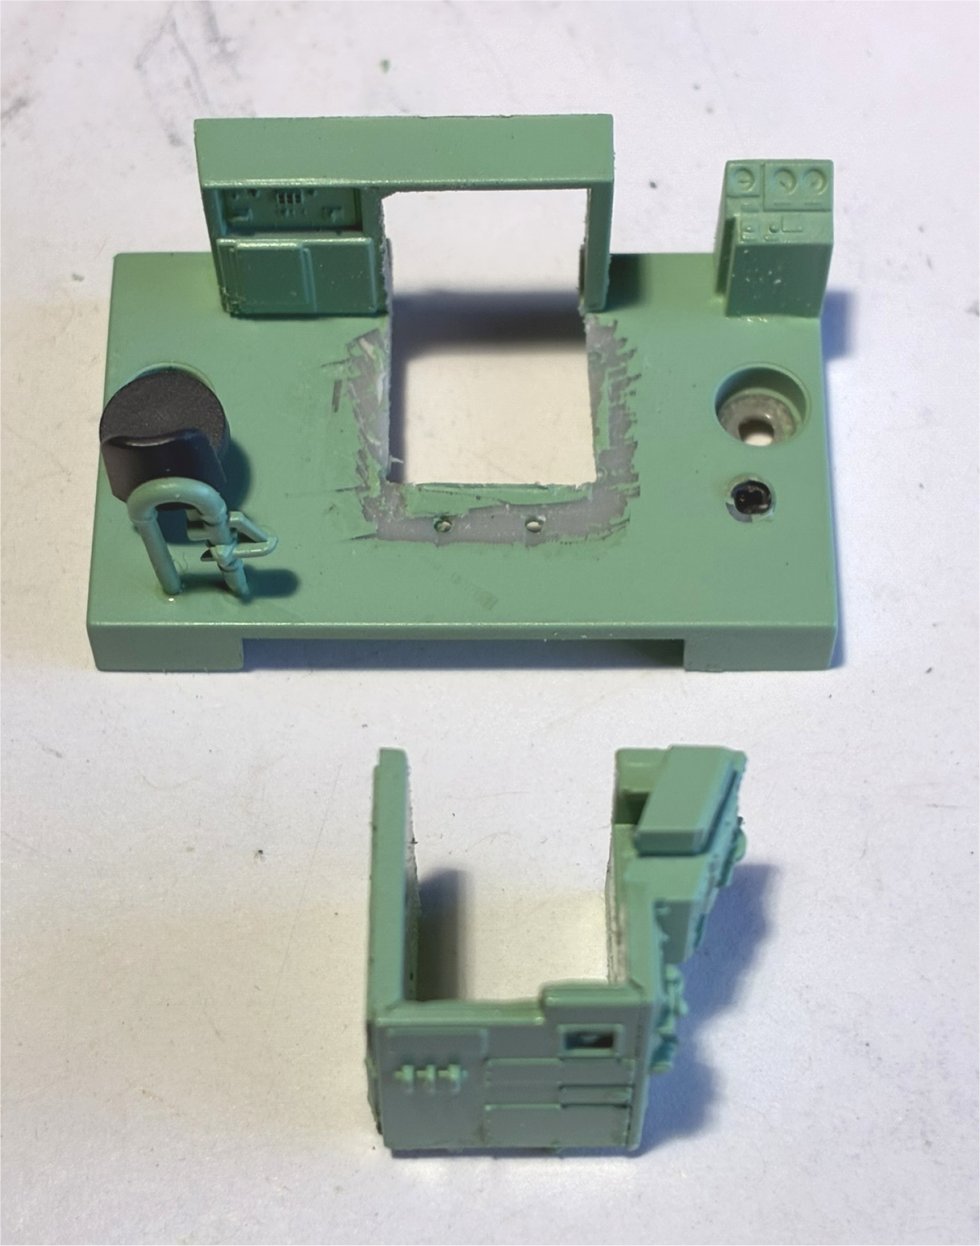
So, you have to remove/cut-out a piece of the floor so that the KA2 can be slid in from inside the SW1500 shell. Here I popped off the wall assembly from the floor and you can also see what I cut out from the floor.
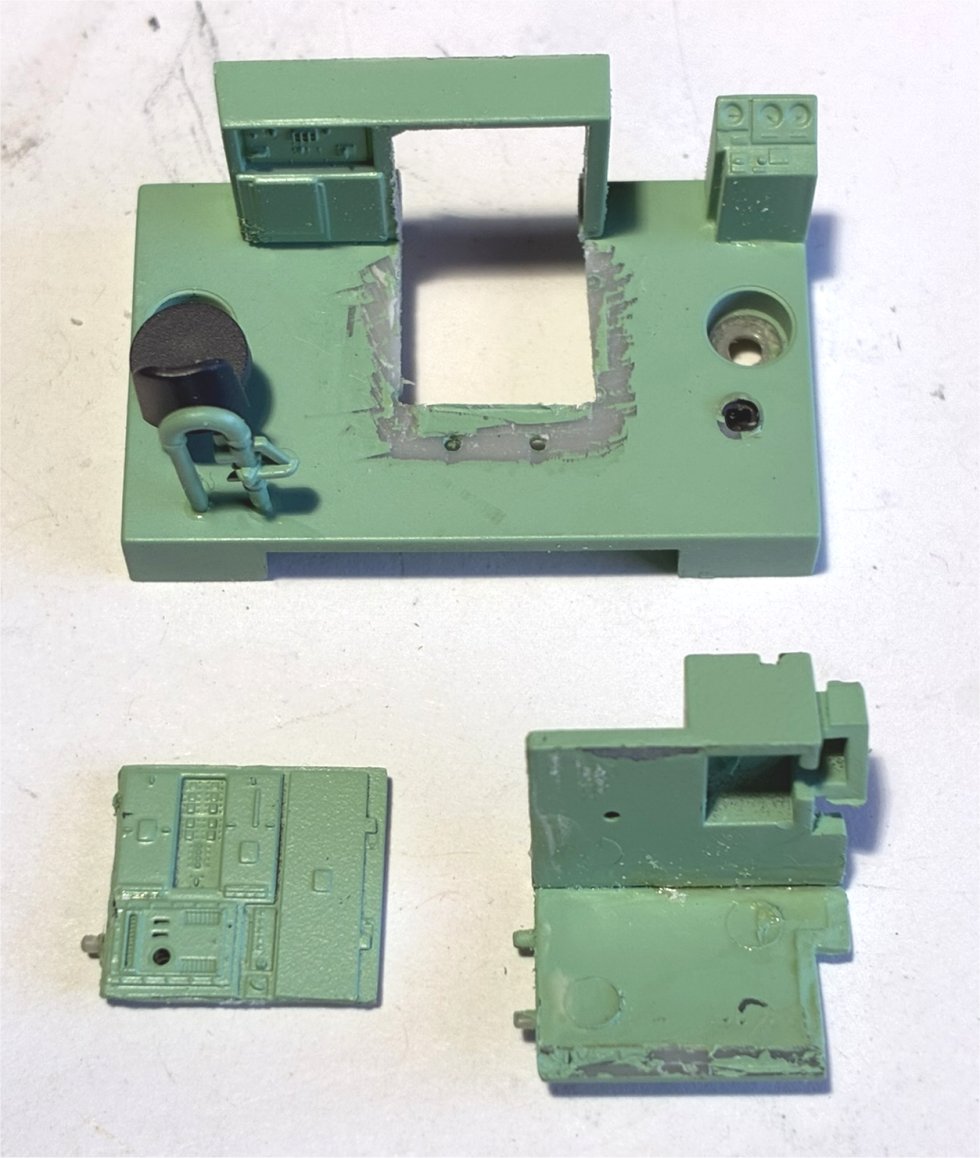
Unfortunately the KA2 is a bit wider that the space between the walls, so I popped the glue joint on one of the walls. Here's that.
Then I glued everything back together.
Does it fit? Yes it most certainly does!
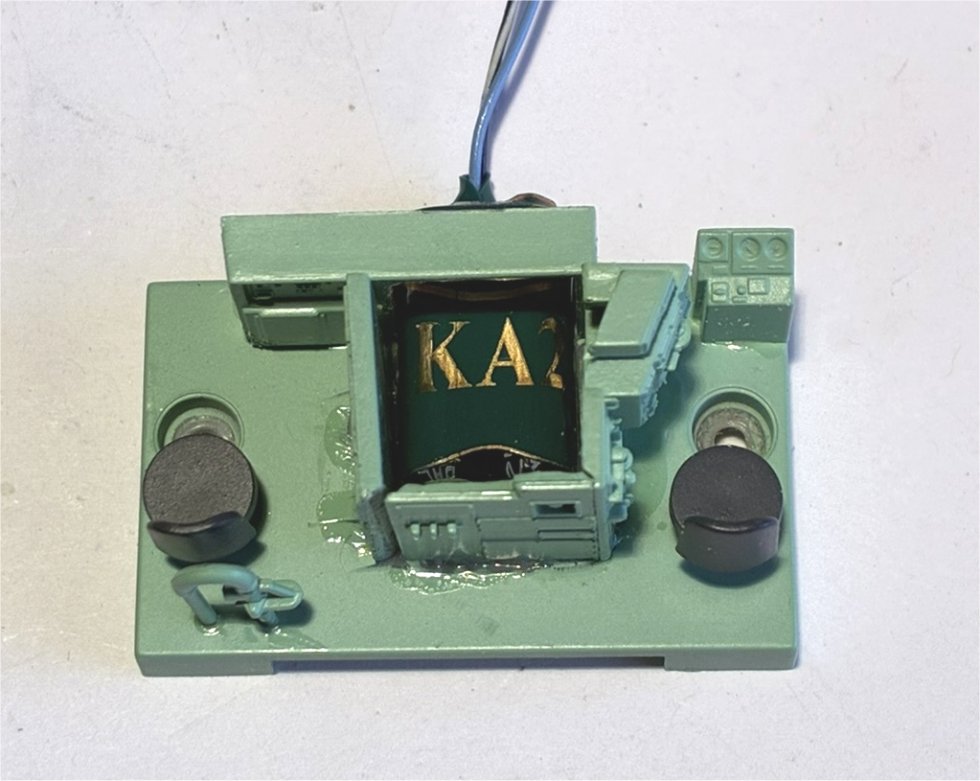
Here's a shot of the cab's interior reinstalled with the KA2 stuffed up into that dead space.

Then it was a "simple" matter of connecting the wires and tucking everything back into the shell. Obviously this would have been way easier if I installed the KA2 from the git-go, but, it worked! Runs like a champ across my long 19 degree diamond!
Now that I've shown it's possible, you can do it too!

