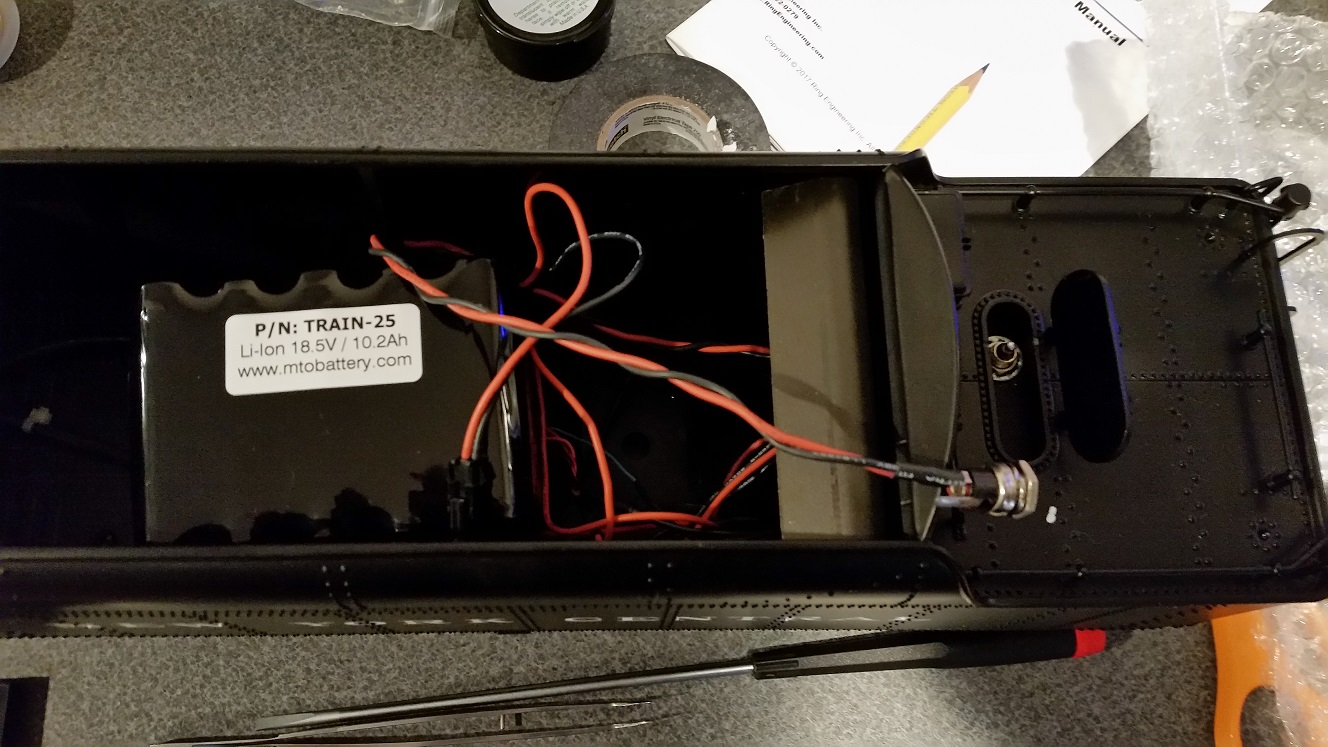
The point of this post is to provide tips to anyone who might do a G scale install on a USA Trains Hudson Locomotive. I will start off by saying I got a refurb engine from USA Trains where there ware no control boards in the loco. To me this is preferable as none of the boards are really needed when you install the RailPro and if you want to enhance the hound like I did it is best to remove all the control boards as it will free up space for improvements. Also I setup my engine for battery power only, While I normally try to do both track and battery in my engines the way power pick up is done in both the tender and the engine would have created a bit of a wiring nightmare and you will see why in a second. The battery will be installed in the tender, as I used a Li-ion 18.5 V 10.2Ah battery which will only fit in the tender, once you take out the 4 screws and clips that hold the coal feeder detail piece in place. Also I removed the power pickups off the tender wheels as they only cause drag and have no reason to use them. I also installed the On/Off switch and charging jack in the tender as the water fill lid opens and is a great place for a low profile switch.
Between the engine and the tender there is a 6 pin connector. Sadly you will end up needing to ad another 2 pin connector yourself as the 6 pin will not provide all the necessary connections. The connector provided is not spec'd to handle high currents as such I ended up using four of the pins for power alone. I split the V+ among two pins and power return among two pins as well. This is a safety measure and prevents a possible meltdown in the connector which should have been spec'd better in my opinion. The other two pins I use for the tender headlight. My added two pin connector between the locomotive and the tender is used for the marker lights.
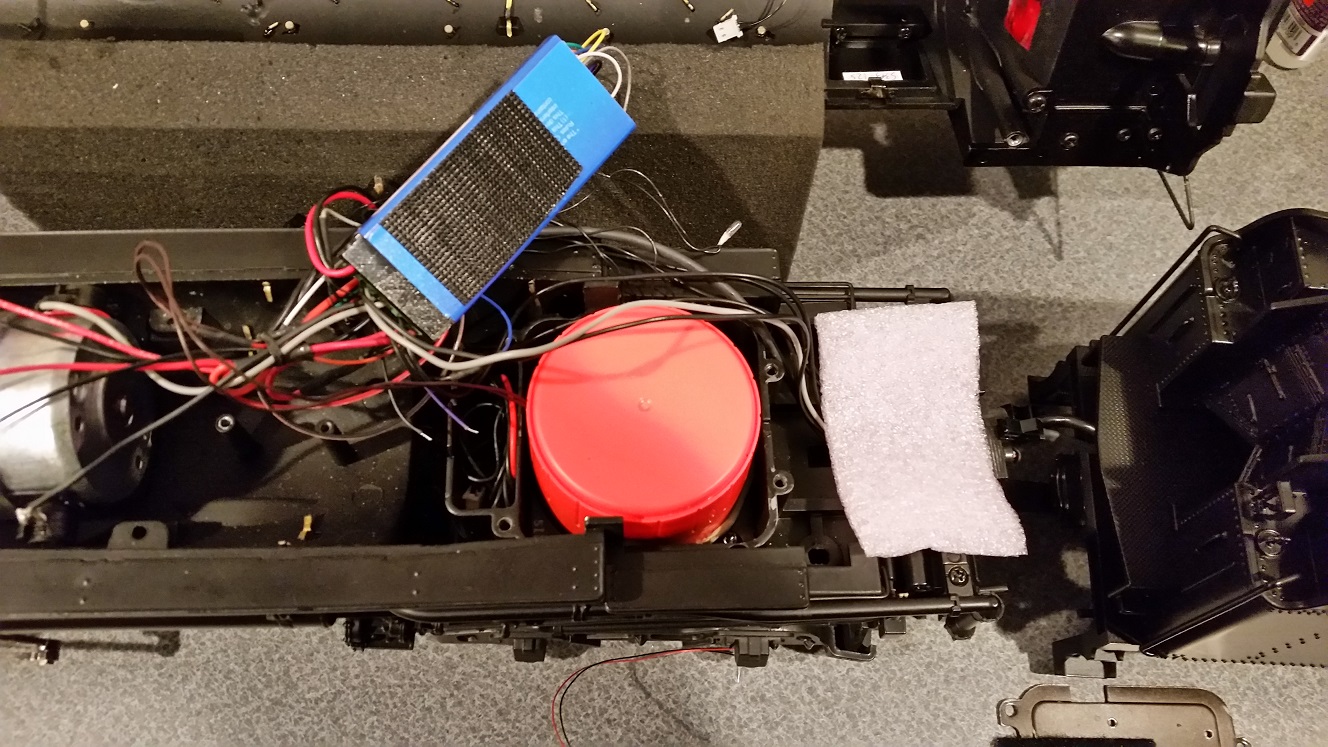
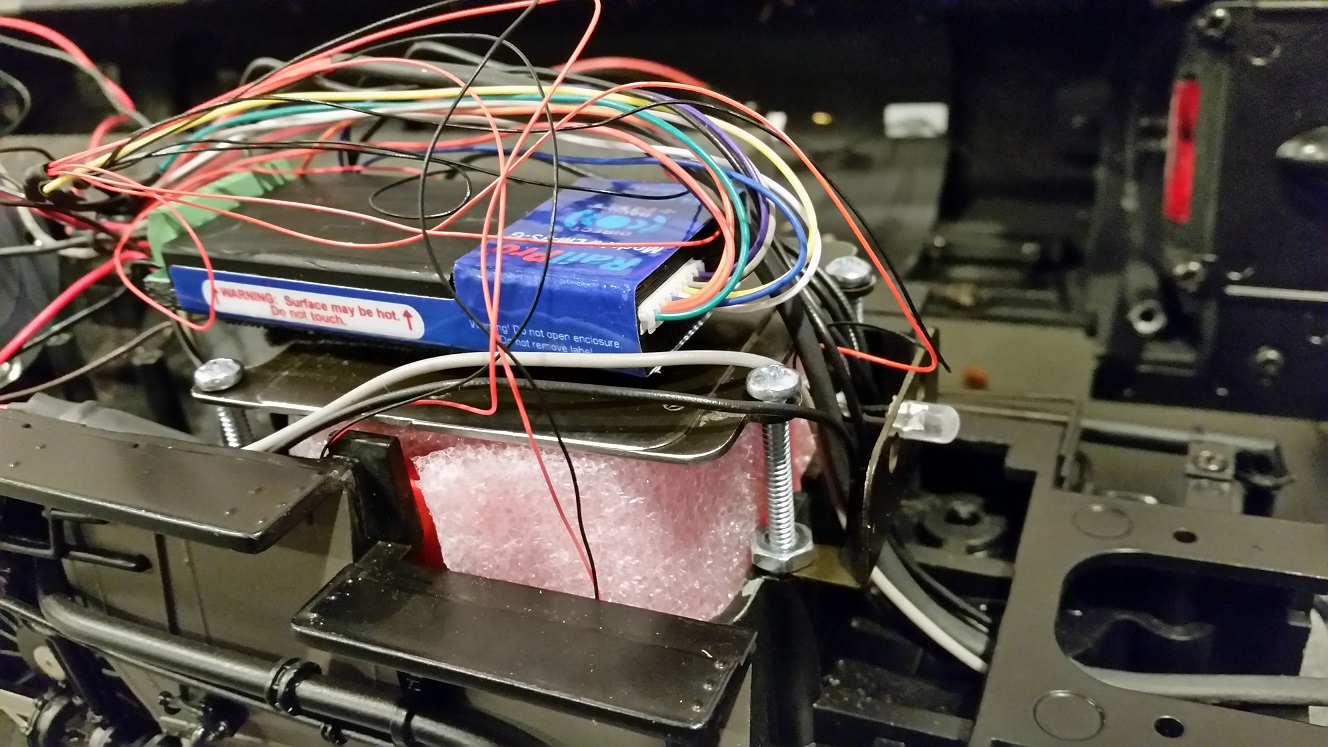
Moving on to the engine all of the control boards are normally there to begin with and it is where I put the RailPro module. This is also where the speaker is installed. Sadly USA Trains designed the loco to house the speaker in the engine which helps for realism but makes it hard to get great sound since it limits your speaker choices. Once all the old control boards are out you will remove a few screws to pull up a plate that will provide you access to the speaker housing.

I tried a number of speakers but in the end the only thing that worked the best was the Visaton FRS 7 2.5 inch speaker at 4 Ohms. This give phenomenal sound but will require to make some adjustments to make it fit. First take a pair of tin snips and just cut down the corners on the speaker plate a bit this will help it fit into the box better. Next I ended up creating some baffling for the speaker since it is in hollow metal box and wanted to ensure the sound was not echoing inside the engine body. I found a Tide laundry detergent cap is just the right size and cut of the bottom screw portion of the cap just leaving me the upper part of the cup. I drilled a hole in the top side of the cup to feed the wires into and cut a piece of thin pink packing foam sheet into a circle which I attached inside the cup to help dampen things some more. Trust me this speaker can make a lot of noise and you want the sound going down and out and not bouncing around inside. I used rope caulk to seal the bottom of the cup to the back of the speakers mounting plate. I then used some more of the pink sheet foam cut down to back around the sides of the cup as well as another piece on top of the cup.
Once you have all this in there the issue is the plate that went over the speaker is no longer going to fit back in it's place and requires some modification. The plate looks like this:

To get it to fit properly it is best to cut off both sides of the plate back to where the bevel starts. This will allow the plate which will be sitting a lot higher to hit in the upper body of the engine once it is put back on. I had to purchase new screws which I got in 1 and 1/4 inch ength as well as a couple of nuts this allowed me to screw the plate back down as well as holding the small plate for the firebox light.
Wiring up all the connections is then up to you but I grouped all 5 of the firebox lights to one return on the RailPro. I did the same for the front and rear markers, and used other control outputs for the front headlight, rear headlight, and cab light. I have one control wire left which I am saving for a smoke unit which I will be experimenting with in the future.
Other recommendations I have is replace all of the fire box bulbs with LED's. I am also replacing both the front and read headlights with LED's as well as they are just too dim at 5V in my opinion and the bulbs cannot handle full battery voltage. I would leave the bulbs in for the markers and they provide just the right amount of light there. I have seen some markers replaced with LED's on other peoples engines and they end up being too bright.

