I apologize in advance as I should have taken more pictures of this process, especially during the wiring and soldering phase. However once I'm in motion with soldering and wiring, it becomes very difficult to pull myself away to get pictures. On the next install I will try hard to get some decent pictures.
So here's a Bachmann RS3:
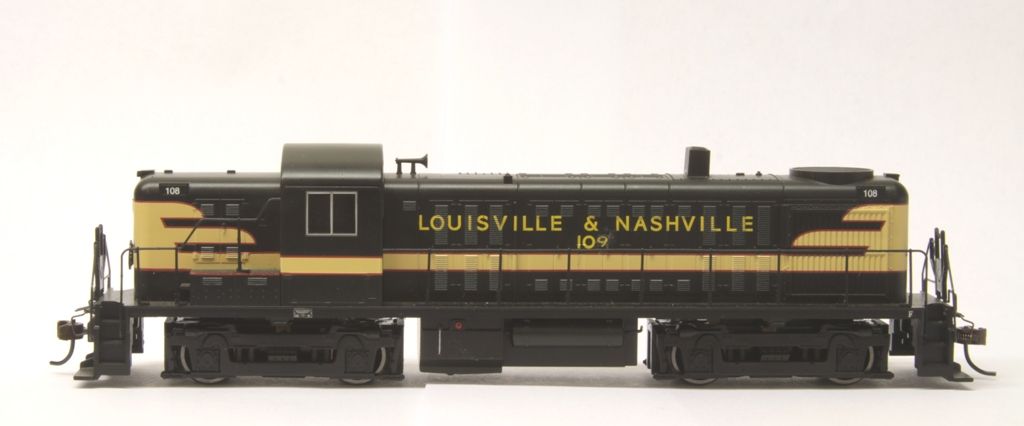
Not a bad model. Not the most detailed, but it's a good runner and straightforward to work on. To remove the shell, first remove the screws holding the coupler boxes in. Then remove the small screw over the fuel tank, remove the fuel tank and then remove the two screws found inside. The shell comes off with no wires attached to it.
Here's what you find inside:
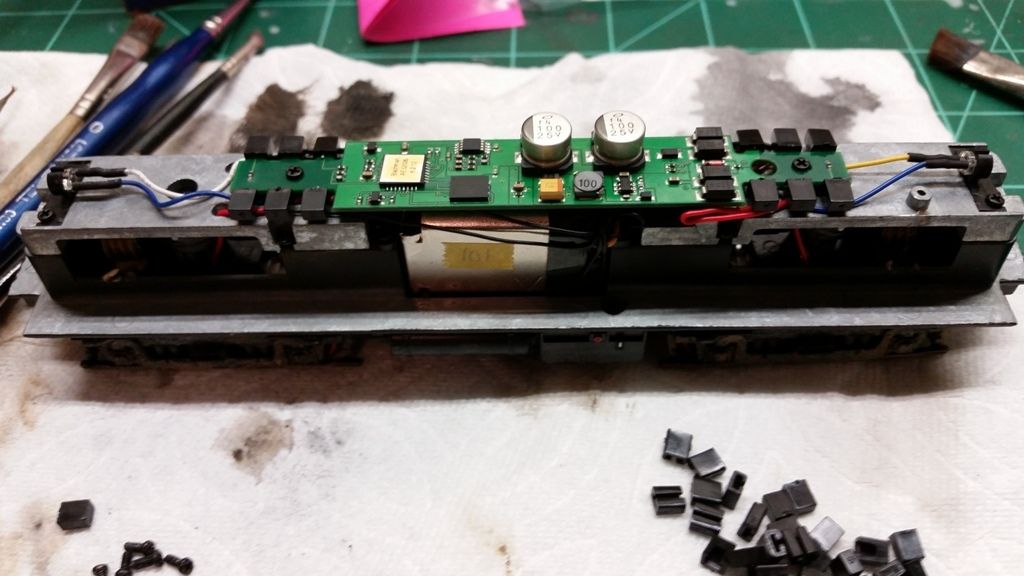
That is the factory sound board with all wires held to it with the plastic tabs.
The first step is to pop all the tabs off, and remove the factory board. The lights will come out of their holder...just pop them back in. This is what you are left with:
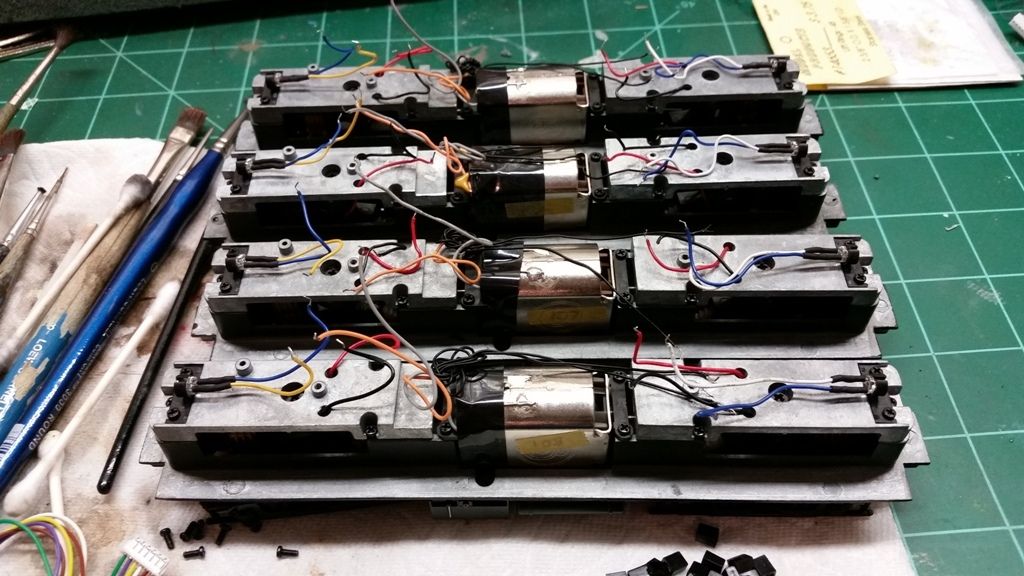
Bachmann made it nice when they decided to color-code all their wires according to the NMRA standard. Way to go Bachmann.
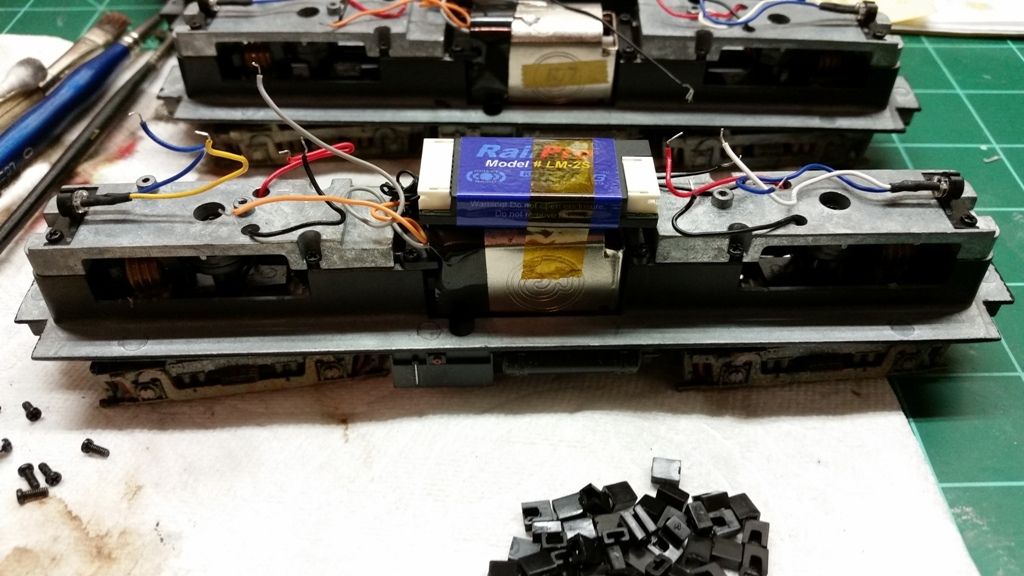
Now, take the LM-2S and tape it down to the top of the motor. I orient the module so the 9-pin plug is towards the front of the motor, where the wires are (orange and gray).
Now here is where I didn't take pictures. Next, take the 9-pin and the 6-pin plug and remove any wires that won't be used. Use a small screwdriver or the tip of a blade and lift up on the plastic tab on the plug, then remove the wire in whole. There is no need for unused wires cluttering your install. For this particular locomotive, I remove the following wires:
9-pin-Green
-Purple
-White
6-pin-White
-Yellow
-Green (or purple, doesn't matter)
Now attach the plugs to the module. Then it's just a matter of trimming the wires so that there is enough slack to work with, but not so much that you have a rat's nest of wiring. Again, Bachmann made it easy here by color-coding the wires. Orange goes to orange, grey to grey, etc. Cut the wire, strip the end, flux the bare wire, tin the wire with solder, slip heat shrink tubing over the wire and put it out of the way, solder wires together (one from module, one from locomotive), move heat shrink over the joint and shrink with the soldering gun, repeat. It's a process, but once you get into a rhythm it can move smoothly.
For the lights I use 1K ohm 1/4 watt resistors (these are LEDs). I tend to stick with SMD resistors because they are much smaller.
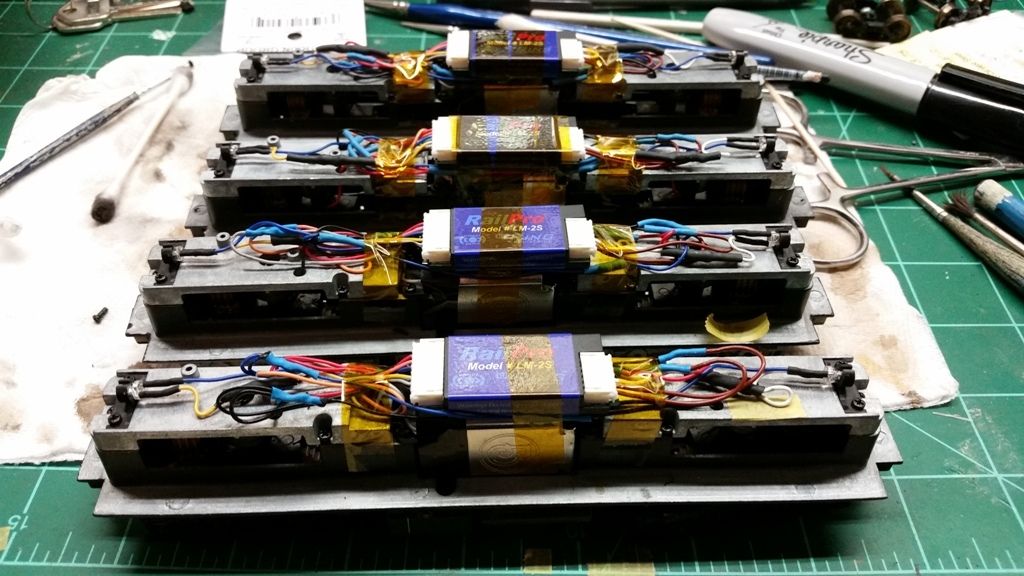
Here are the finished locomotives:
Any wires that go from front to back get tucked under the edges of the module and then kept in with Kapton tape that goes over the module. I use Kapton tape to keep the wires managable on either end of the module as well. Don't ever use electrical tape!!! It will leave a gooey mess all over everything that is impossible to remove! Only use Kapton tape. BUT, you can use liquid electrical tape if you knicked a wire or if there is bare wire showing out the end of some heat shrink. It's nasty stuff though, so be sure you wear a mask.
If you have reached this point then you have been successful! Now load your sounds, set the motor full load current, and enjoy running your locomotives.
-Kevin

